Tagtool

When I was last in Berlin Ilan Kitan introduced my wife and I to Mathias Fritz. Mathias is part of a team who mixes art and corporate mapping installation projects and in the process they developed the Tagtool, which they made available as a DIY project. Mathias had his Tagtool Mini with him and the four us played for a while. A very fun tool, it made an impression so I decided to build one. If nothing else it's a great video tool for the kids to play with.
The Tagtool runs a Nodekit "patch" with a Tagtool control device, a game controller, and a drawing tablet attached by usb. The Nodekit software was originally developed for the Tagtool which is pretty impressive. If you don't want to build a cool Tagtool Mini, the Nodekit download comes with an alternative version that uses a midi controller instead of a Tagtool controller. Tagtool is basically a drawing tool where the control device sliders are used to adjust hue, saturation, brightness, opacity and brush size. When a drawing, or "tag", is complete the person drawing will hit the large button on the controller which makes the tag available to your buddy using the game controller to animate. Each tag can be animated in 2D space offering control of x, y, zoom and rotation. Of course the animator can also change layers and delete tags as he goes. I have not found a limit yet but too many layers of tags will slow the animation down a bit, but it takes a while to get there. One problem is that the Nodekit patch does not wrap around on the x or y axis, or if it does it's too long a distance. I don't know if the the name Tagtool is for drawing "tags", or if because it's a tag-team two person process.
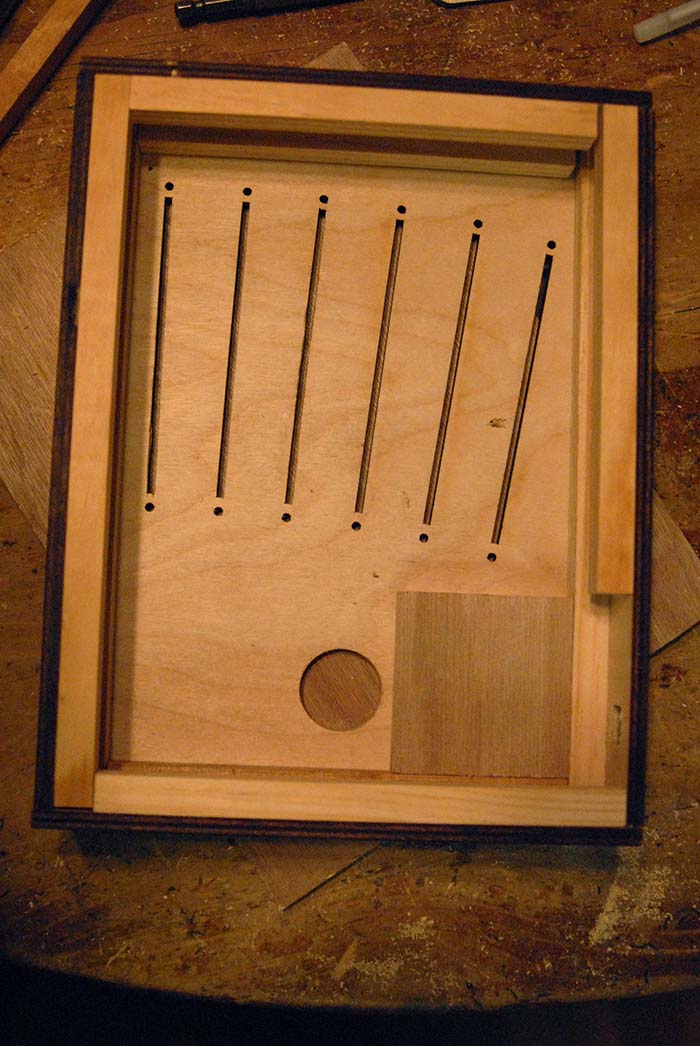
The construction is pretty simple from a hardware perspective. I would usually build hardware with metal boxes but the DIY instructions showed a wood box, and slider pots, so I conformed to the Tagtool aesthetic. I happened to visit David Jones a while back and he agreed to use his laser cutter to cut the Tagtool panel for me. He had a supply of nice hardwood ply that fit the bill perfectly. You can see the laser burns on the panel in one picture, which I sanded out, and along the edges. The construction became about building a nice box, again there isn't much in terms of components. It's an Arduino project that senses 6 pots and a contact closure. As simple as this is I actually soldered it incorrectly, going by a wiring diagram, there are no schematics on-line, and not thinking about it. In the DIY instructions the wiring diagram is reversed or from an upside down perspective, so be careful how you wire the pots. I didn't follow the construction exactly. No way I was going to use a staple gun to attach the sides. This one uses bronze screws. I also substituted the fancy push switch with a cheap plastic game switch.
The Arduino sketch on line was also out of date, I don't know if they ever fixed that. Also the forum seemed slow to respond so I did the research and updated the sketch. It was pretty straight forward. Here is my updated sketch.
 |
 |
 |
 |

